2 Defining recording formats for ADCP netCDF outputs
The EK80 system allows you to record processed data. The data are saved on the hard disk, or on an external data storage device, according to the preferences you have defined. You can also define the which file format to use. One supported file format is the proprietary ADCP netCDF format.
Context
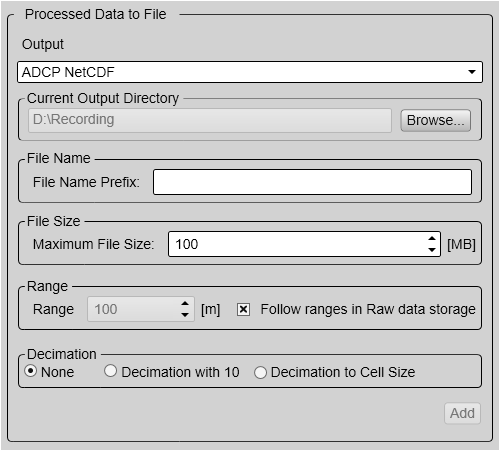
The ADCP netCDF file format is a file format designed by Kongsberg Maritime to hold ADCP velocity data. The format is created as an extension to the ICES SONAR-netCDF4 format using many of the same groups.
Tip
The data files will normally become very large. If you wish to record large amounts of data, make sure that you have enough space on your hard disk. Unless your computer is equipped with a very large disk, we recommend that you save the data to an external storage device.
Set up the file and folder parameters before you start the recording. If you wish to save your recorded data on an external hard disk, make sure that it is connected to the computer.
Procedure
| 1 | Open the Operation menu. |
| 2 | Select Output. Observe that the Output dialog box opens. This dialog box contains a number of pages selected from the menu on the left side.
|
| 3 | Select File Setup to open the page.
|
| 4 | Select Processed Data to File to open the page.
|
| 5 | At the bottom of the Output dialog box, select OK to save the chosen parameters and close it. |